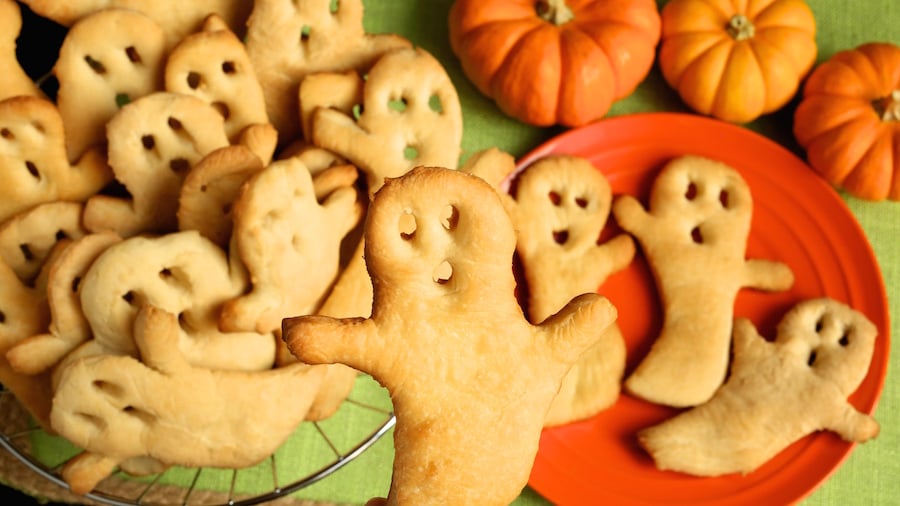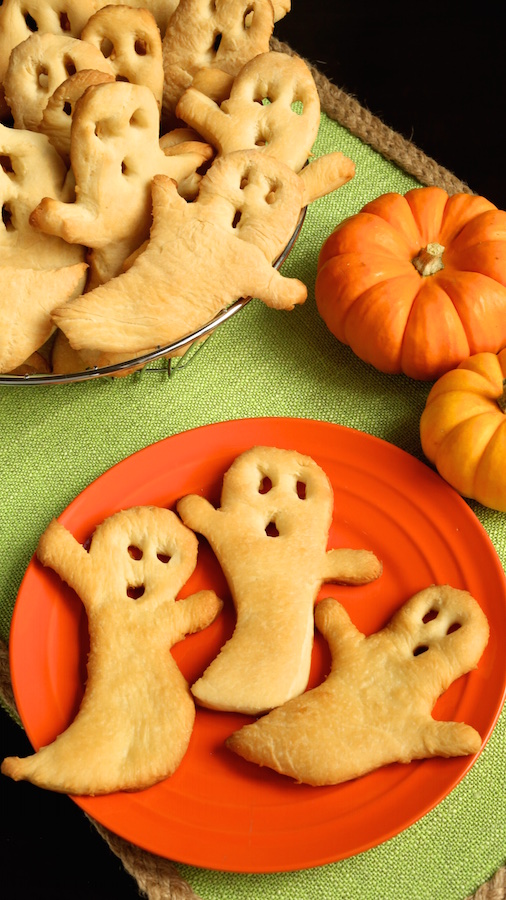
These little ghost crisps were a bit of an experiment. Hear me out and I think I’ll get us to a place where these guys can be a staple of every halloween celebration 😉
The original recipe, where I got the idea for the ghosts, used pre-made dough from a can….I decided to go homemade. The bread recipe is actually adapted from a dinner roll recipe on Cooking Classy that I thought I’d test out as ghosts!!! I think it worked out pretty well. Next time I would roll out my dough even thinner and not let the dough rise so that the ghosts are crispy all the way through.

Warning: This dough is very elastic but as you’ll see, I mentioned that next time I’d probably look for a ghost cookie cutter and use that instead of painstakingly trying to hand-cut each ghost. It would just make the process go by so much faster and easier.
All in all, this is really just another way to add some Halloween flavor to a party. I highly recommend.

This post contains affiliate links (when you buy we make a little money at no cost to you). See our disclosure for more information.
Save this Recipe for Later!
Send this recipe to your inbox so you can easily find it!
By using this form, you agree to receive emails from Cooking with Janica.
Halloween Ghost Crisps Recipe
Ingredients
- Ingredients: (makes about 2 dozen ghosts, depending on how big or small you make them)
- 1/3 cup warm water (110-115 degrees)
- 2 ¼ tsp active dry yeast
- 1/3 cup and ¼ tsp sugar
- 1 1/3 cups whole milk (warmed to 110-115 degrees)
- ¾ cup salted butter (at room temperature and divided)
- 1 large egg (at room temperature)
- 1 ½ tsp salt
- 4 ½ – 5 ½ cups flour*
Instructions
- Warm up water in the microwave on high for about 1-1:30 min. Whisk in yeast and ¼ tsp. sugar until yeast has dissolved. Let rest for 5-10 min until the mixture is foamy.
- Pour yeast mixture into the bowl of a stand mixer and whisk in the other 1/3 cup sugar, warm milk, 5 tbsp of butter, egg, and salt until blended.
- Add in 2 cups of flour and mix until well combined.
- Switch to a dough hook, and with the mixer on a low speed, slowly add remaining 2 ½ cups of flour. Mix until dough is smooth and elastic, about 4-5 min (dough should be slightly sticky to the touch).
- Put the dough ball into a large, greased bowl, cover, and allow to rise in a warm place for about 1 ½ hours.
- Once dough has risen, punch down and divide into two equal portions. Shape each portion into a ball.
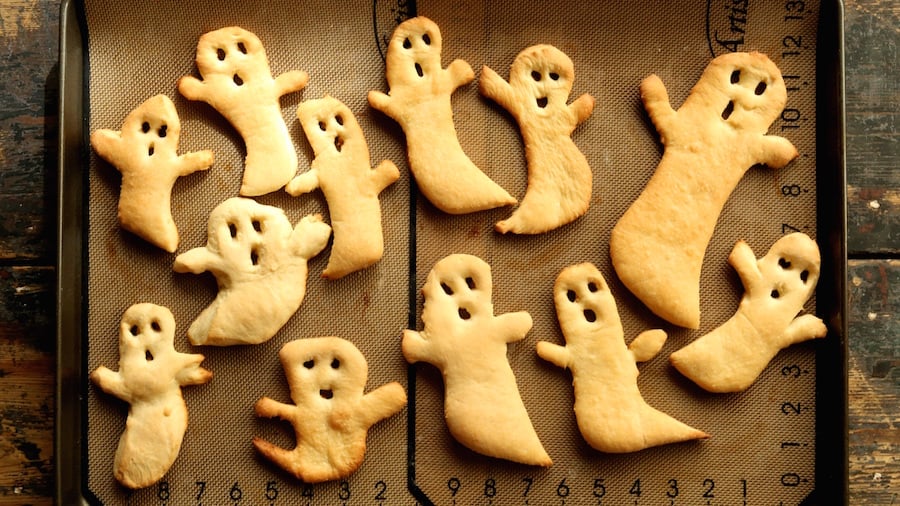
- Roll each ball out on to a lightly floured surface into a large rectangle (I doesn’t have to be perfect because you’re going to be cutting ghost shapes out of the dough anyways). The dough should be fairly thin (I would say about 1 cm high).
- Using a sharp knife (I tried using a plastic knife but the dough was so elastic it didn’t really work well), cut out the dough in the shape of a ghost (If I had thought ahead I would have actually bought a cookie cutter in the shape of a ghost. This would have made the process a WHOLE lot easier and tidier).
- Preheat your oven to 375 degrees.
- Lay each ghost out onto a baking sheet, lined with a baking mat and apply some butter on top of each.
- Bake ghosts in oven for 15 min or so until golden brown. Remove from oven and brush with remaining butter.
- Eat right away or let cool. Perfect for hummus, spreadable cheese, or dips!!!
- *The original recipe called for 4 ½ cups of flour. I had to add a little more but all in all, you want to make sure that the dough isn’t sticking to the sides of the bowl. It will still stick to the bottom a little bit, but again, not the sides.

Deb says
Id like to try these, but maybe add some cheese powder!
Saima Zaidi says
Ooh, these ghost crisps are darling! Halloween’s over this year but I’ll be saving the recipe for next year for sure. Love them!
Kate says
Oh my gosh, these are soooo cute! Perfect for a Halloween party!
Lisa says
Love the shapes you cut, wonderfully creative. A cookie cutter may save time, but this was art.
Jen says
These were a lot easier to cut out than I thought. Great Halloween appetizer idea!